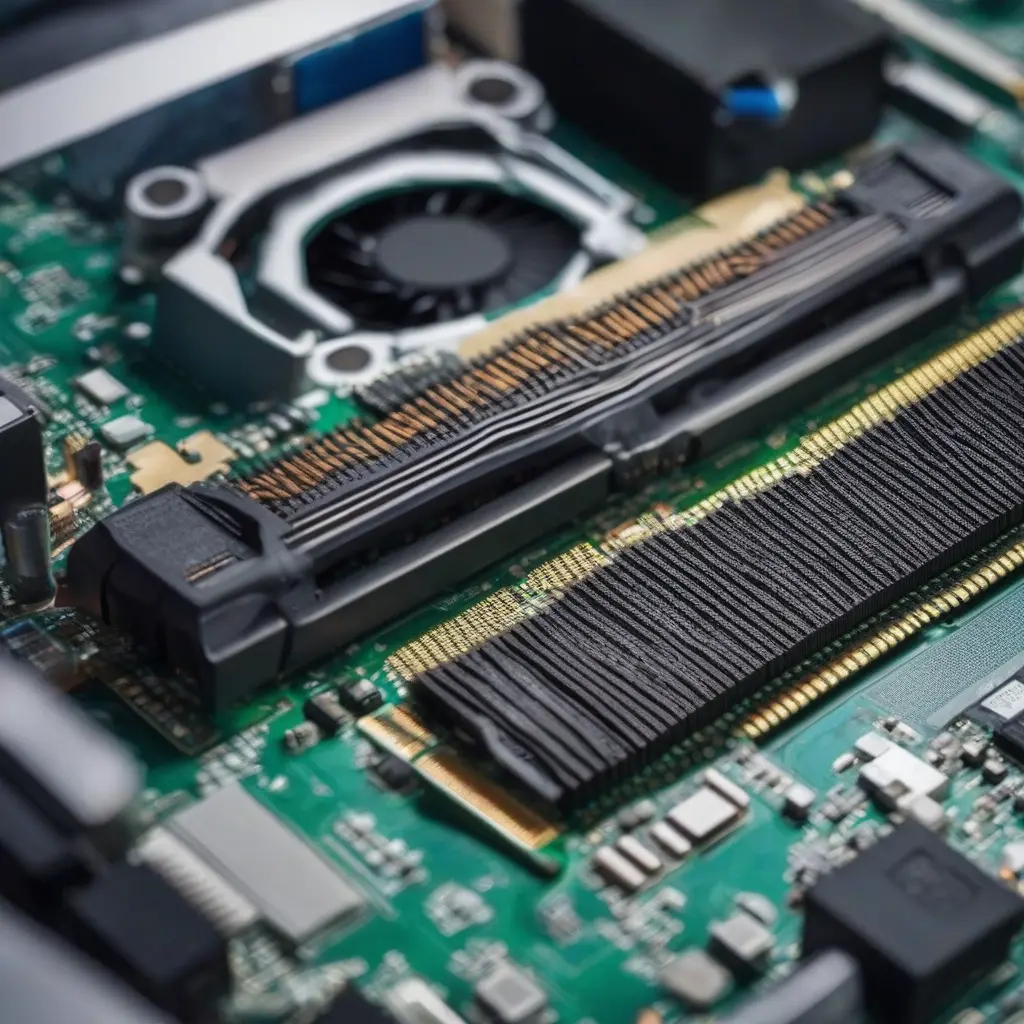
Upgrading your PC’s RAM can significantly enhance its performance, enabling smoother multitasking and faster application load times. This guide is designed specifically for beginners, providing clear and straightforward instructions to upgrade your RAM with confidence. By following each step carefully, you’ll understand how to choose compatible RAM, install it correctly, and troubleshoot common issues. Whether you’re looking to improve gaming performance or boost productivity, learning how to upgrade RAM is an essential skill for any PC user.
Understanding RAM and Its Importance
Random Access Memory (RAM) is a crucial component of your computer that temporarily stores data for quick access by the CPU. It plays a vital role in determining how many applications can run simultaneously and how efficiently they operate. More RAM allows for better multitasking, faster data processing, and an overall improved user experience. If your computer is running slowly or having difficulty handling multiple tasks, upgrading your RAM may provide the necessary boost to improve its performance significantly.
Checking Your Current RAM Configuration
Before you begin upgrading your RAM, it’s essential to know your current configuration. Start by checking how much RAM is installed in your PC and what type it uses. On Windows, you can do this by going to ‘Task Manager’ and clicking on the ‘Performance’ tab. For Mac users, open ‘About This Mac’ to see RAM specifications. Knowing the current RAM size, type, and speed will help you choose compatible memory modules suitable for your upgrade.
Choosing the Right RAM for Your System
Selecting the right RAM is critical for a successful upgrade. Ensure compatibility by checking your motherboard’s specifications, typically found in the user manual or manufacturer’s website. Pay attention to the RAM type (e.g., DDR4), speed, and maximum supported capacity. Additionally, consider purchasing modules from reputable manufacturers for quality assurance. Understanding these parameters will help you make an informed choice, ensuring the new RAM integrates seamlessly with your existing hardware.
Gathering Your Required Tools
Before you dive into the upgrade process, gather the necessary tools. Typically, you will need a Phillips-head screwdriver to open your computer case and possibly an anti-static wrist strap to prevent static damage to components. Clear a workspace and have the new RAM modules at hand. Being organized helps streamline the installation, reducing the risk of errors and ensuring that you can focus on properly upgrading your RAM without unnecessary interruptions.
Powering Down and Preparing Your PC
Begin the upgrade process by powering down your computer and unplugging all cables. This ensures your safety and prevents any electrical damage. If applicable, move your desktop to a spacious area. Open the computer case carefully, following the manufacturer’s instructions, to gain access to the motherboard and RAM slots. Taking these initial precautions will help ensure a smooth installation process without the risk of damaging sensitive electronic components.
Removing the Old RAM Modules
To remove the old RAM modules, locate them on the motherboard; they are typically long sticks slotted into banks. Gently push down the clips on each end of the RAM stick simultaneously until the module pops up. Be mindful of the existing clips to avoid unnecessary force. Once released, gently pull the module away from the slot, taking care to grip it by the edges to prevent static damage. This step is crucial for making space for the new RAM modules.
Installing the New RAM Modules
When installing the new RAM modules, first align them with the notches in the RAM slots on your motherboard. Firmly press down on each end until the clips snap into place, ensuring that the RAM is securely inserted. Take your time and double-check the orientation, as installing the modules incorrectly can cause performance issues. Proper installation is key to ensuring that the new RAM is recognized by your system and functions effectively.
Reassembling Your Computer
After successfully installing the new RAM, it’s time to reassemble your computer. Carefully close the case and make sure all screws are securely fastened. Reconnect all cables, including the power supply and peripherals. This step is essential to ensure that there are no loose connections when you power up the computer again. A thorough check will contribute to a smoother process as you transition back to using your upgraded PC.
Booting Up and Checking RAM Recognition
Now that your PC is reassembled, it’s time to power it back on. Immediately enter the BIOS or UEFI setup by pressing the designated key during boot-up. This varies by manufacturer, but common keys include F2, DEL, or ESC. In the BIOS menu, check if the new RAM is recognized correctly under the memory settings. If all is well, save the changes and exit, allowing your computer to boot into the operating system with the newly upgraded memory.
Troubleshooting Common Issues
If your computer does not recognize the new RAM, double-check that it is securely installed and compatible with your system. Ensure that you’ve utilized the correct RAM slots and that the modules are seated properly. You might also want to revisit the motherboard specifications in case of any compatibility concerns. If issues persist, consult the RAM and motherboard user manuals for further guidance or consider seeking help from a professional technician.
Performing System Performance Tests
Once the RAM upgrade is complete and your system is operational, it’s beneficial to perform some performance tests. Utilizing software tools like Windows Memory Diagnostic or third-party applications can help assess your RAM’s performance. Such testing can ensure that the upgrade positively impacted your system’s responsiveness and capacity to handle applications. Regular monitoring allows you to gauge the performance improvements and can assist in future upgrade decisions.
Conclusion
Upgrading your PC’s RAM is a straightforward process that can yield significant improvements in performance and usability. By following this step-by-step guide, even beginners can confidently enhance their computer’s capabilities. With the right tools and knowledge, you can transform your PC into a more efficient machine, enabling better multitasking and faster application loading. As technology advances, continuing to monitor and upgrade your hardware will keep your system running smoothly for years to come.